Cross-Curricular Connections: Exploring the "Batter Up" Unit
Mar 31, 2024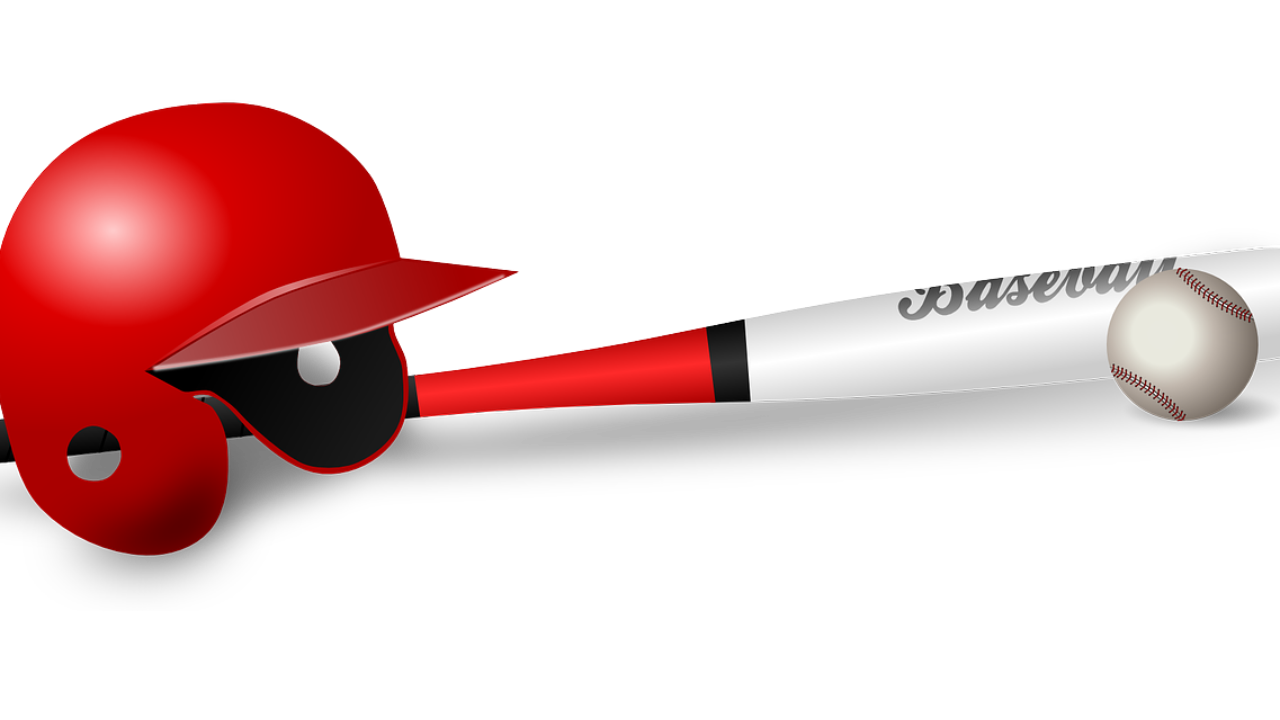
Baseball season is here! This month’s unit feature is in theme with a focus on our “Batter Up” module in Content Library Junior. In this unit, students use Scratch to animate a baseball scene. In this program, the pitcher throws the ball to the batter, who then hits the ball. The ball is caught by the second baseman. Let’s take a look at the various cross-curricular skills learned and practiced in this activity!
The Opening Scene
While our baseball program could have one background, we give our students a challenge by creating an opening scene before the animated scene. This means that students learn how to write a program that switches between different backdrops.
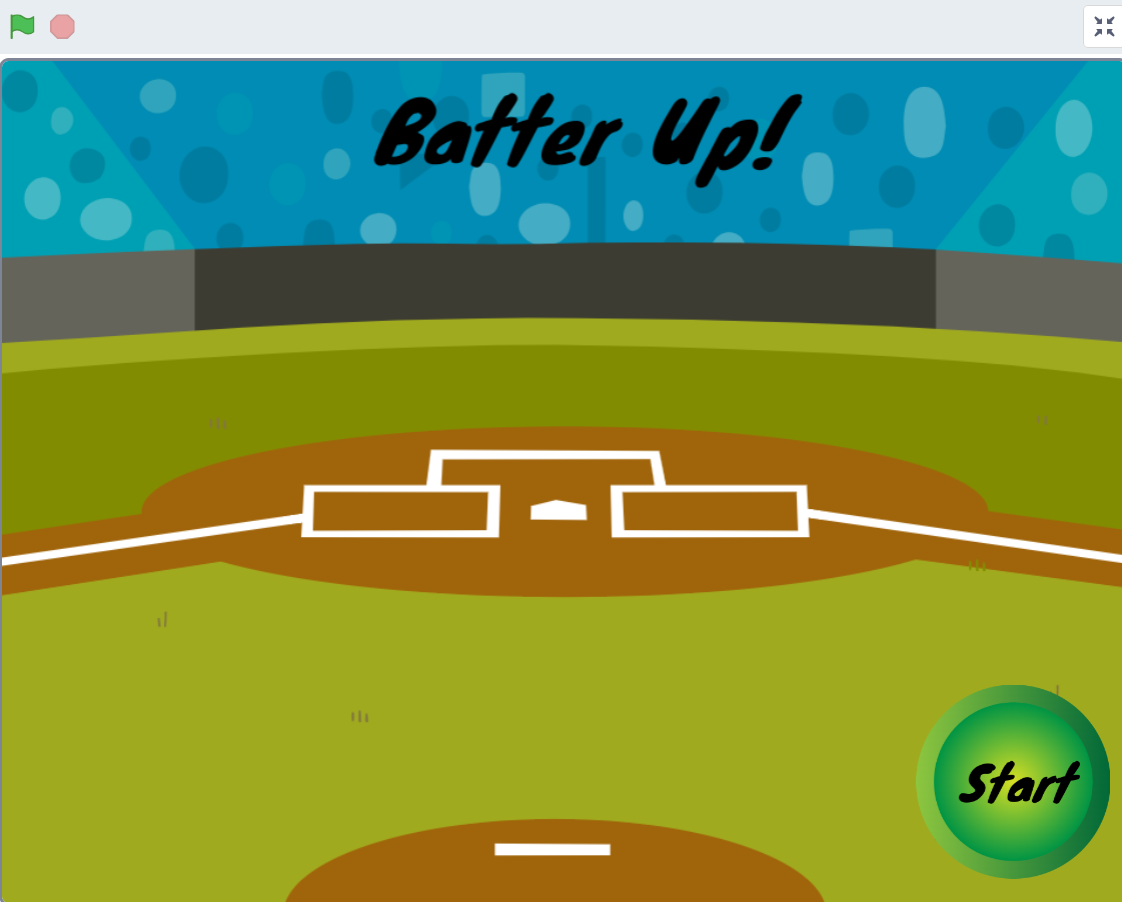
There are multiple options for creating a backdrop in Scratch. By navigating toward the lower right hand corner of the Scratch screen where you find Choose a Backdrop, a programmer can access all of the backdrops that already exist in the Scratch library. Students may also choose to select the paint icon and create their own backdrop using the Scratch editor. Selecting the up arrow icon at the top of the list allows a programmer to upload a backdrop that has been saved to the desktop. In this program, we use two backdrops that are already created in the Scratch library. The opening scene is the Baseball 1 backdrop.
You may wonder why something so seemingly trivial is worth mentioning. While it is true that the choice of backdrop does not affect how this particular program runs, there are various careers in which matching the design to the program is important. Consider game development. When building a video game, the creators not only need to write the code required to make the game work, but also design the characters, the backgrounds used for each level, the different menu options, and more aspects like these. While in theory a student could choose or upload a backdrop unrelated to baseball and still create a workable program, design skills can be equally valuable when it comes to both exercising STEM skills and successfully earning a career in tech. So, even a simple task in this program, like uploading a theme-related backdrop, holds its importance.
Students also have the opportunity to work in the Scratch editor. While we utilize premade backdrops in this activity, programmers can use the Scratch editor to add to or edit the selected backdrop. In this unit, we use the Text Box tool in the editor to add the words “Batter Up!” to the main screen. Programmers have the option to choose from nine different fonts, adjust the size and color of the text, and move the text to a desired location on the screen.
Once the design is established, we move into the code. Having multiple backdrops in a program can be a challenge in itself because it requires the coder to consider what needs to happen once the additional backdrops are added. For example, let’s pretend we’ve already added the second backdrop and animation. Clicking the green flag toward the top and right side of the Scratch workspace tells the program to begin. When the green flag is clicked, we see the introduction page, but we have no way to get to the second backdrop. To achieve this, we can add a “Start” button. This, then, requires the programmer to consider three thoughts: 1) What code needs to be included so that the Start button brings us to the second backdrop? 2) Once on the second backdrop, how do we go back to the starting scene? 3) How do we ensure that the program starts over again when the green flag is clicked?
It requires some backwards thinking to identify the necessary questions. Once the questions are answered, the programmer can easily determine what the code should be. So, this is how we determine that one of the first instructions to write is a combination of when [green flag] clicked instruction from the Events category and a switch to backdrop [ ] instruction from the Looks category. When a second backdrop is added, the dropdown menu of the switch to backdrop [ ] instruction will populate with all added backgrounds. The backdrop Baseball 1 should be selected if the coder wants the program to start from this opening scene once the green flag has been clicked.
This set of instructions can be part of any sprite’s code, but considering these instructions relate to backdrops, we add them in the sample as part of the Stage code. The Stage’s code also includes instructions for adding music to the opening scene. As with backdrops, music can be created in Scratch, uploaded from one’s desktop, or selected from an existing library of sounds in Scratch. While we explore how to add music using each of these methods, we use a sample sound from the Scratch library for the opening scene.
To access the library of available premade sounds, the programmer would need to select Sounds in the upper left hand corner of the screen. From there, the programmer moves to the lower left hand corner of the screen and selects Choose a Sound. This opens a library of various options, which, when selected, are added as an option for the instructions in the Sound category.

Once added, the programmer uses a combination of the when backdrop switches to [ ] instruction from the Events category and the play sound ( ) until done instruction from the Sound category. As students work through programs, they learn to utilize the drop down for each instruction to choose the correct option. So, the instructions would look as shown below.

We mentioned the importance of identifying the necessary questions needed to be asked and answered to create an effective program. Once the music is added to the opening scene, students learn they should be considering backdrop two. If the sound is being played “until done,” and the user chooses to switch to backdrop two before the sound finishes, what will happen?
In this case, the music will still be playing unless the sound is stopped. So, a combination of a when backdrop switches to [ ] instruction and a stop all sounds instruction is needed. However, the drop down for the former instruction should be the name of backdrop two. It may be that the programmer has yet to add that second backdrop. In this case, the dropdown will not give the second backdrop as an option. So, it might be helpful to add the second backdrop first, and then finish this set of instructions. The programmer can always return to backdrop two - we choose the Baseball 2 backdrop for this in the sample - to customize its look if needed.
Once the Baseball 2 backdrop is added and the user has written a set of instructions for the Baseball 1 scene, students can turn their focus to the animation scene.
Animating a Baseball Scene

When moving into scene two, the first step after adding the backdrop itself is to add the “players,” or the sprites. If you’ve worked with Scratch before or read our previous Cross-Curricular Connections posts, you know that sprites are the objects that can be programmed in Scratch. In this particular baseball program, we animate a scene that focuses on the infield, so we need to add players to the correct positions.
Each player has its own set of costumes that are key to programming the sprite to make it look as if it is moving through a set of motions. To access a player’s costume, the programmer needs to ensure a specific sprite is selected and then choose Costumes in the upper left hand corner of the screen.
This will bring you to the Scratch editor. While many of our programs focus on creating backdrops with the editor, here, we spend time clicking through each costume for an individual sprite. When you do so quickly, it looks as if the sprite is moving through motions. Let’s take the batter sprite, for example. When clicking through costumes a through d, we notice the sprite begins in a batting stance and swings the bat through as if hitting a ball. The catcher sprite moves through the motions of jumping in the air with a baseball glove to catch the ball. Each baseball player sprite moves through their specific motions when moving through different costumes. So, our goal in our program is to write instructions that tell the sprite to rotate through its different costumes.
It is also important to note that in this program, the batter is facing a different direction than we’d like in order to match the Baseball 2 backdrop. To change this, the programmer can choose the Flip instruction at the top of the Scratch editor. There are options to flip both horizontally and vertically. In this case, we want to flip the batter horizontally. The programmer must remember to flip each successive costume so that the sprite continues to look as if it is moving through one fluid motion.
Once the sprites are set as the programmer would like and all costume motions have been explored, we can return to the Code screen. In this scene, the goal is to have the pitcher wind up to pitch the ball, the batter hit the ball, and the second baseman catch the ball. Let’s explore the code for one of these sprites.
The Pitcher

The scene begins with the pitcher winding up to pitch the ball. Because there are two backdrops, all sprites will need to have a combination of a when backdrop switches to [ ] instruction from the Events category and a show or hide instruction from the Looks category. All sprites will be hidden when the Baseball 1 backdrop is displayed, but shown in the Baseball 2 backdrop. So, we start by adding two sets of these instructions first.
Under the when backdrop switches to [Baseball 2] and show instructions, we can then add the code to animate the pitcher. We begin by adding a switch costume to [pitcher-a] instruction from the Looks category, so that the pitcher begins in the stance we would look at the start of the scene. Since there are three additional costumes we’d like the pitcher to move through, we can use a repeat loop in the code.
Once the repeat loop is selected, change the 10 to 3. This will ensure that any instructions added inside of the loop will repeat three times. Within the loop, we add a next costume instruction from the Looks category and a wait (1) second(s) instruction from the Control category.

If students are struggling to picture what the program would look like, have them test this out. They can either copy the code for the other players, or use the Backpack storage option. If the programmer does not edit any part of the code, the sprite will not move. This is because the instructions tell the computer to switch the first costume to “pitcher-a,” which is not a recognizable costume for the batter and outfielder sprites.
When students recognize this issue and change the costume to reflect the current sprite they are programming, it is important to again ask, "What would happen if these were the only changes made?"
If we were to use the same code for each sprite, all sprites would move through their costumes simultaneously. We would not have one scene, but a bunch of sprites completing what would look like random motions. So now students can ask, "How do we remedy this?"
This is where the wait instructions come in. In a game of baseball, the pitcher throws the ball to the batter. So, the batter is the second player to move, which in this case, is actually working through each costume. We can use the same code we use for the pitcher, but add a wait instruction and adjust the number of seconds to match exactly when the ball would be in front of the batter. Then, we can program the batter sprite to move through its costumes, making it look as if the batter is swinging the bat.
The same can be done with the outfielder sprite. The number of seconds waited before switching costumes would be slightly more than those of the batter. This shows us that like many of our Content Library Junior activities, what is seemingly simple actually requires significant thought - especially thinking ahead - and problem-solving.
Programming the Baseball Sprite: The XY Coordinate Plane
![]()
Another aspect of programming this scene is programming the baseball. While the pitcher has a baseball attached to the glove, the ball cannot physically detach from the glove. This ball is part of the pitcher sprite’s costume. So, we also need a programmable baseball sprite. A baseball sprite is already available in the Scratch library. As with adding other sprites, the programmer would need to select Choose a Sprite in the lower right corner of the screen and choose the baseball player.
As with the batter and outfielder sprites, a wait instruction needs to be added to the code so that the ball moves from the pitcher to the batter at the correct moment. The Baseball sprite’s code will differ from the others because it will require a focus on Motion instructions.
This provides an opportunity to learn and review the coordinate plane with your students. The Scratch stage is a coordinate plane, with its x-axis ranging from -240 to 240 and its y-axis ranging from -180 to 180. This in itself is a lesson for students, as they need to understand positive and negative values, and how to plot points on the plane to specify a sprite’s location.
The Baseball sprite needs to start at the same coordinates as the pitcher’s glove. We want it to look as if the baseball is coming out of the glove. The first instruction, then, is to add a when backdrop switches to [Baseball 2] instruction paired with a show instruction, and then a go to x: ( ) y: ( ) instruction so that the Baseball sprite starts at the desired coordinates.
If your students have not yet learned about the xy-coordinate plane or how to plot points, Scratch is a great way to introduce these concepts. Whenever you move a sprite, it automatically adjusts that sprite’s coordinates for you in the instructions that are on the left hand side of the screen, as well as the coordinates that are below the Stage. It will not adjust any instructions that have already been added to the workspace, but students can easily find new coordinates underneath the Stage and adjust their instructions in the workspace accordingly.
Since the coordinates change when the sprite is moved, students can then drag the Baseball sprite to where they want it to end up– right in front of the batter. As we previously covered, a wait instruction needs to be added first. Then, when the pitcher switches to the costume that indicates a ball is thrown, the Baseball can travel. If the programmer has already moved the Baseball sprite, then a glide (1) secs to x: ( ) y: ( ) instruction can be added. Finally, the programmer needs to move the Baseball sprite one more time to land on the coordinates that match the second baseman’s glove in order to simulate a player catching the ball. Once moved, another glide (1) seconds to x: ( ) y: ( ) can be employed.
While we also teach students how to add applause and the crowd cheering at the end of the scene, working with coordinates and moving through different costumes at the correct moments are the key skills developed from this unit.
Why Baseball?

Programmers can animate any type of scene that focuses on any theme. What makes baseball - or any specific theme - stand out? There are a few points to consider.
One reason baseball can be a significant topic is the opportunity it provides for students to learn a new sport and new vocabulary. If your students do not follow baseball, this unit provides a chance to learn the basics of the game in addition to learning how to code. Even if baseball is not a favorite sport or hobby for your child or one of your students, it is important to have a basic understanding of the sports that so many follow. This builds the background knowledge needed to participate in various social settings. Social skills hold an equal value to academic skills, and are important for students to be able to connect with others at various stages.
Another importance to choosing a sports theme is student interest. Your child or students may believe they don’t enjoy programming, but when they see that they can program in a way that relates to a topic they enjoy, it builds interest and a desire to learn new skills. Taking into account your students’ hobbies and interests is essential for engagement in academic activities. Learning programming should feel appropriately challenging, but not off-putting or unexciting. When we provide opportunities for students to learn skills in nontraditional ways they enjoy, it is more likely they will enjoy what they’re learning and have a desire to continue to learn.
Becoming a skilled programmer also opens various doors when it comes to having a career. For a competitive athlete, the Major Leagues and other sports equivalents are not always attainable. Students can still earn a career in their desired sport/field by becoming sports analysts, sports engineering program managers, software engineers who work in broadcasting, etc. Programming is a way for a student to enter and become involved with a field they enjoy.
The multitude of cross-curricular skills in Batter Up and the importance of completing a sports-themed activity may not be obvious at the outset, yet in reality, there are a variety of skills that are developed in this one seemingly simple unit. When your elementary learners begin with programs like Batter Up, they are appropriately challenged in a way that is enjoyable and encourages them to continue. It is important to never underestimate even the simplest of programs. The benefits and effects of such a program may be larger than is evident.
Stay connected with news and updates!
Join our mailing list to receive the latest news and updates from our team.
Don't worry, your information will not be shared.
We hate SPAM. We will never sell your information, for any reason.
