Cross-Curricular Connections: Exploring the "Ice Cream Dream" Unit
May 01, 2024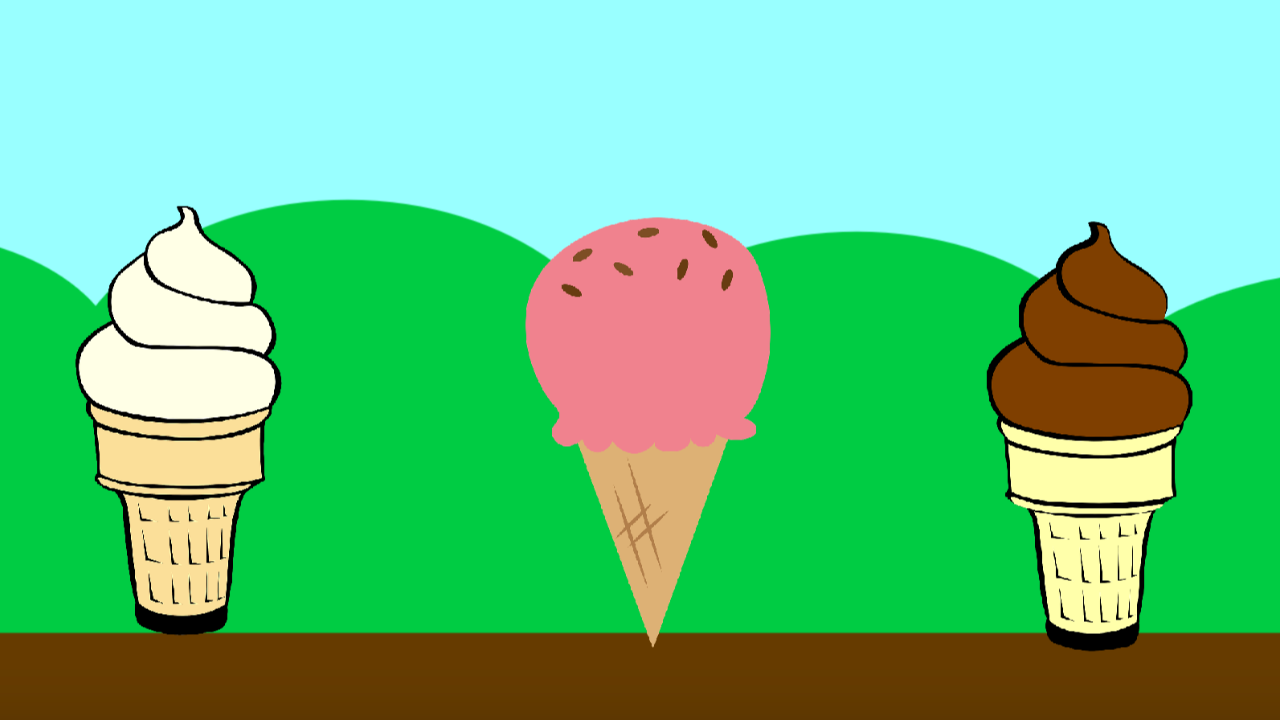
With the warmer weather and summer around the corner, we thought this would be a great opportunity to explore our “Ice Cream Dream” unit in greater depth! This Content Library Junior unit uses Scratch to create an interactive ice cream menu. In this program, the user chooses vanilla, chocolate, or strawberry for their ice cream flavor. When selecting one of these three ice cream cones, they are brought to a new screen that shows their flavor of choice. On this screen, users can add toppings to their ice cream cone by clicking on the various choices. From creating one’s own sprite to ensuring the positions of the ice cream cones are accurate, there are a variety of skills developed in this activity. Let’s explore a bit further!
Creating Backdrops

Many Content Library Junior activities that use Scratch involve the creation of backdrops and sprites. There are multiple ways to add a backdrop and/or a sprite:
- Choose from the pre-populated library in Scratch.
- Upload an image from the computer, or
- Draw an image or add text using the Scratch editor.
In this activity, we use all three methods at various points. To start, we add the Blue Sky backdrop that is shown above. When selecting Choose a Backdrop in the lower right hand corner of the screen, Scratch opens up a library of premade images. For the opening scene, we use the Blue Sky backdrop.
For the second backdrop, students learn how to download an image to their computer and upload a backdrop into their program. We use a beach backdrop to match the summer and ice cream theme. While the Scratch library has images of real beaches as backdrops, there are not any cartoon-like images that work well with the opening scene. So, we teach students how to find and upload their own backdrop. Learning to download and upload is helpful to be able to know how to do when Scratch does not have the backdrops wanted for a program. It is also a technical literacy skill that directly transfers to other contexts.
On both the opening scene and each of the specific ice cream flavor backdrops, we add text to the backdrop. This introduces the third skill of learning how to add text to a backdrop using the Scratch editor, which is accessed by selecting Backdrops in the upper left hand corner, next to Code. (Note that if a sprite is selected, this will say Costumes. Both will bring you to the Scratch editor, but Backdrops will allow you to edit a backdrop whereas Costumes allows you to edit parts of a selected sprite.)
We’ve explored the Scratch editor in multiple other Cross-Curricular Connections posts, and we often note that many of the features in the editor can be found in other programs. This includes features like the ability to use paint cans to color backgrounds, text boxes to add text, copying and pasting, duplicating, and grouping items together. In this program, we use the Text Box to add directions to the main menu. We also add text to the backdrops used for the vanilla, chocolate and strawberry ice cream cones to include a menu of topping options. Adding text to the backdrops is permanent, as any changes made in the editor now become part of the backdrop. (However, they are not saved to the original image whether it came from the Scratch backdrop library or an uploaded file.)
Creating Sprites: Ice Cream Cones & Toppings

In contrast, if text is created as a sprite, it will not become a permanent part of the backdrop. Sprites are images that appear in layers on top of the backdrop. The overall effect is very similar to drawing an animated cartoon. Each character is drawn on a transparent sheet and placed on top of the painted background.
When using sprites for text, code needs to be written to allow the sprite with the text to be shown or hidden, depending on the state of the program. Instructions for text may also tell the computer to move the text, play a sound associated with the text, etc. We do not create text sprites in this program, but it is important to note the distinction.
Instead, we create ice cream cones and topping sprites. The same three ways to create a backdrop - using the pre-populated Scratch library, uploading an image, or drawing using the editor – are used to create sprites. To add ice cream cones, we upload images of a vanilla, strawberry and chocolate cone. To add the toppings, we use the Scratch editor.
Recall that the editor is accessed by selecting Costumes (this will be Backdrops when the Stage is selected) in the upper left hand corner, next to Code. We create three different toppings in this program - cookie dough, a cherry and rainbow sprinkles.
We create the cookie dough sprite by making little squares that are a brownish beige shape resembling chocolate chip cookie dough. Students use the Rectangle tool in the editor to make squares. Students then use the Circle tool to create smaller circles within the squares to form the chocolate chips.
Students repeat a similar process when creating the cherry and sprinkles sprites. When creating the cherry sprite, students learn how to use both the Circle tool in the Scratch editor along with the Reshape tool (indicated by a cursor and a dot) to create an imperfectly round object resembling a cherry. Students learn to use the line tool to create the stem, as well as how to use the Outline tool to adjust the thickness of the line.
To create rainbow sprinkles, students once again learn to use the Circle tool. In the lesson, we create multiple circles to represent each sprinkle and use the paint can to fill each with a different color. Though there are numerous circles, they all make up one sprite. So, when the user writes code for the sprinkles sprite, it applies to all the circles (or “sprinkles”) created.
For each of the sprites, students learn to use the Fill and Outline tools, and the Color, Saturation and Brightness tools within these tools. Each of these are sliding scales that help the user select the exact color and shade wanted for a certain part of a sprite or backdrop. When clicking on the Fill tool, the bottom right side of the tool shows an eyedropper. If the user selects the eyedropper, it can be placed over different parts of the Stage, and the user can select a specific color by hovering over it. The different skills students develop by using these features of the Scratch editor can be applied to other programs they create in Scratch as well as in other applications that provide similar functionality, thus providing multiple opportunities for students to both practice and apply these skills.
Projects that teach STEM skills but which also include an arts component are sometimes referred to as STEAM. STEAM is an acronym for Science, Technology, Engineering, Arts, and Mathematics. This project certainly qualifies as STEAM since it requires the student to work with tools commonly found in graphic arts and to imbue their program with their own creativity.
Selecting an Ice Cream Cone

After the backdrops and sprites have been created, students learn to write instructions so that when the user clicks on an ice cream cone, the program shows a page with only the ice cream cone of choice and a list of toppings. This can be accomplished with a combination of Motion and Looks category instructions.
The Motion category is important to utilize here because when clicked, the ice cream cone should be in the center of its own backdrop. Yet on the main menu, it may be located in a slightly different position. So, we use a combination of when backdrop switches to [ ] instructions with go to x: [ ] y: [ ] instructions to make this happen. The when backdrop switches to [ ] instruction is an example of an event. It is something that happens within the program to which the program may respond. Writing code that responds to events is called event driven programming.
Naming the Backdrops
Another important part of this program is naming the backdrops properly. When an ice cream cone is clicked, the user is shown a beach backdrop with only the selected ice cream cone showing. Each beach backdrop is the same, but the ice cream cones differ. This can be achieved using a when backdrop switches to [ ] instruction from the Events category and a show or hide instruction from the Looks category. Here, the programmer chooses the backdrops for which the different cones are shown or hidden. This means students must name each backdrop carefully and specifically in order to choose the correct option from the drop down in the when backdrop switches to [ ] instruction. The backdrop with the vanilla ice cream cone is named Beach 1 - Vanilla. The backdrop with the chocolate cone is Beach 2 - Chocolate. The last backdrop is Beach 3 - Strawberry. These names are changed in the Scratch editor in the small Costume bubble in the upper left of the editor window.
A Few Additional Thoughts
We have touched on many aspects of this program and yet have not covered it in its entirety in this one post. This begins to hint at an idea of just how much is involved in programming and how many skills may be employed in a single program, even when it seems simplistic.
The following are a few key points and suggestions regarding this program:
- The Scratch editor is the same both for backdrops and sprites. If programmers want to create their own sprites, they could do so using the Scratch editor. By adding text to the backdrops, though, we make the text permanent. If we added directions and menu options as sprites, we would need to also add code to both show and hide this text during the correct scenes. This is because when you create a sprite, it appears in every scene unless otherwise specified. Because the instructions provided to the user are tied directly to each scene, it makes the most sense in this program to add the text to the backdrop rather than as sprites. The ice cream cones, in contrast, appear in multiple backdrops, so it makes sense to create these as sprites.
- It may be advantageous to your students (or you as the learner) to spend time creating backdrops and sprites from scratch (no pun intended). With every activity, it is important to consider the overall goals for your students and their program. For students who can easily upload sprites and backdrops, creating their own adds an extra challenge. On the opposite end, you may find that your students are struggling to learn how to upload, edit and adjust images. In these cases, it may be worth including modifications such as uploading backdrops for them or using preloaded backdrops in the Scratch library.
- The positioning of the ice cream cones on the main screen and on each of their individual backdrops provides an opportunity to expand student learning centered around the coordinate plane. Many of the programs, if not all of the Scratch programs in Content Library Junior, include instructions involving the Motion category in some capacity. In fact, it is difficult to write a program in Scratch that does not incorporate x- and y-coordinates. This particular unit can be used as an introduction or a review of positioning objects on the coordinate plane.
Summer is almost here, and it is the perfect time to get your students started with coding projects like Ice Cream Dream! Remember to sign up for a 30 day free trial subscription to get started. We can’t wait to have your students join us at Excalibur Solutions STEM Academy!
Stay connected with news and updates!
Join our mailing list to receive the latest news and updates from our team.
Don't worry, your information will not be shared.
We hate SPAM. We will never sell your information, for any reason.
