Cross-Curricular Connections: Exploring the "Play Me a Song" Unit
Jun 26, 2023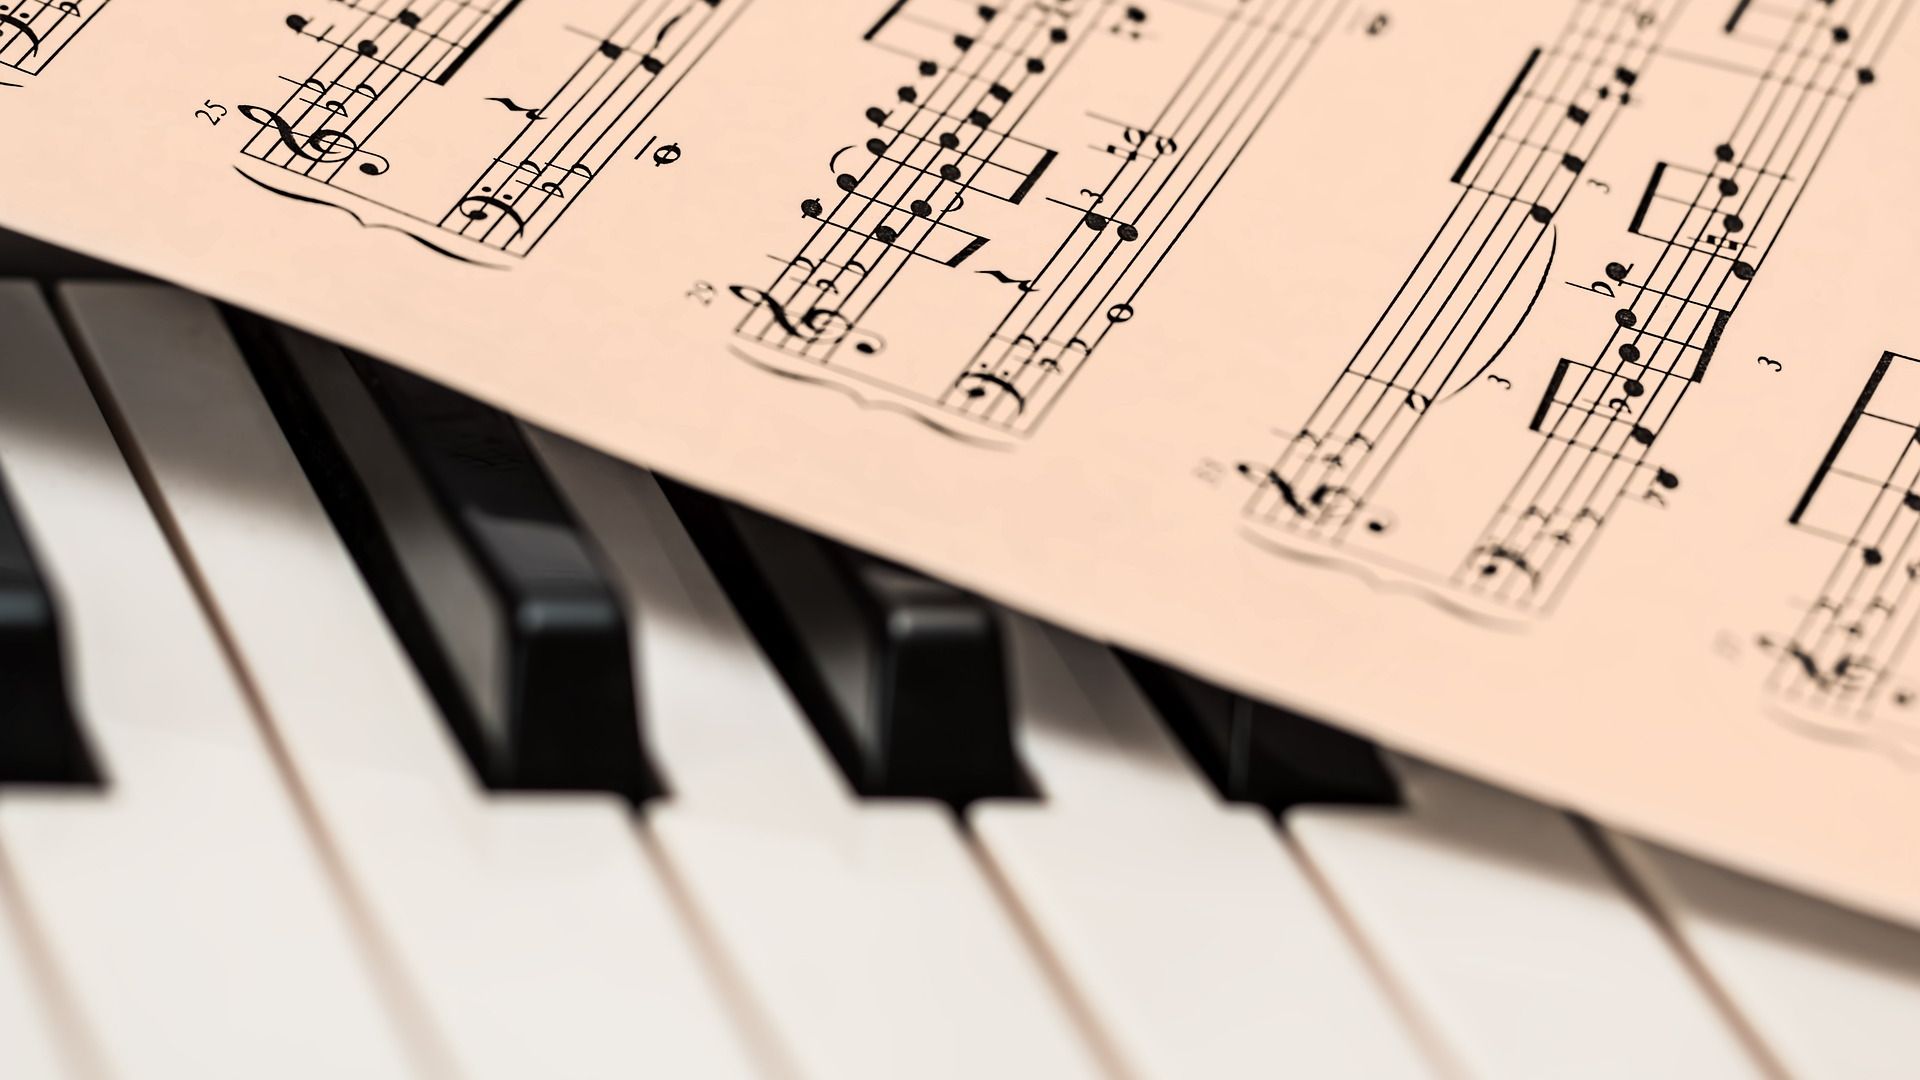
This month’s unit feature focuses on our “Play Me a Song” Unit in Content Library Junior. This is a three-part unit that includes block-coding in Scratch and MakeCode, as well as using the Ruby programming language in the program SonicPi. This unit combines music skills with programming to help children learn how to program well-known songs and write new ones!
Part 1: Scratch

In the “Play Me a Song” Scratch submodule, students learn how to write block code to program the song “Twinkle, Twinkle Little Star.” Scratch actually has two categories that can be used to program music - the Sound category and the Music Extension category.
The Sound category can be used to write melodies once you add an instrument sprite. These include guitars, drums, a bell, a trumpet and a saxophone. Once added, the play sound ( ) until done and the start sound ( ) instructions will populate with notes in the key of C, with C2 indicating a high C note and C indicating low C. An Events starter - such as the when [green flag] clicked instruction - combined with these instructions allow the programmer to create a melody.
In this unit, students learn the basics of reading music and have the opportunity to look at the sheet music for “Twinkle, Twinkle Little Star.” While no music experience is required, this provides an opportunity to make cross-curricular connections, teach students new concepts and allow them to utilize different areas of their brain, which we will explore a bit later in this entry.
Once students recognize the notes needed and select the notes from the dropdown in the Sound category instructions, they can play “Twinkle, Twinkle Little Star.” The lessons teach students how to select the different instructions and choose the correct note from the drop down within the instructions.
From here, we move into adding the Music Extension category - a set of instructions that also allow programmers to create songs, but with more specific options. In the Sound category, melodies can be created, but it is difficult to sync up the timing of different sprites/instruments exactly. With the Music Extension category, one of the main instructions is the play note (60) for (0.25) beats instruction, which allows programmers to sync up the sprites with one another and more specifically time out the music.
You may also be wondering what note 60 means. Just as with the Sound category, the Music Extension category includes notes in the key of the C. However, they are identified by numbers. Students learn how to associate numbers with notes and amend their code so that they can use the more specific directions of the Music Extension category. Additionally, when clicking on the 60 in the play note (60) for (0.25) beats instruction, a keyboard will appear on the screen and help the programmer identify which number represents which key and note.
Yet the Sound and Music Extension categories are not the only instructions used in this program. Because verses of “Twinkle, Twinkle Little Star” repeat, students learn how to use for loops and functions to their advantage. For loops repeat a certain set of instructions for a specific amount of repetitions, or iterations. Functions are pieces of code that can be written once and used repeatedly. Once written, the programmer “calls” the function - by writing its name, or in Scratch, using its function block - to execute that particular set of instructions. In the image below, the pink blocks that say define represent functions and the repeat (2) instruction represents a for loop that will repeat twice. The beginning of “Twinkle, Twinkle Little Star” is the same melody as the ending, so we can write a function and call that function both in the beginning and at the end of the song, allowing us to only have to program the melody once.

It is important to note that there are so many options in Scratch and directions that can be taken when working with music. The Sound category also has the option to play sounds that are already part of the Scratch library. These range from sounds like a “pop” sound to looped sounds that play more like a melody. Alternatively, programmers can upload their own sound files. While we do not explore these second two options in this particular unit, it is helpful to know the available options when working to program songs.
Part 2: MakeCode

When working in MakeCode, students practice with the same programming skills they learned in Scratch. Loops and functions can also be used in this block coding program. However, MakeCode has a simpler option when playing melodies. In MakeCode’s Music category, there is a play melody ( ) at temp (120) (bpm) instruction. As with the Music Extension category in Scratch, the option to adjust the tempo makes it so programmers can create more specific beats and timing for the piece of music they want to program.
Unlike in Scratch, though, the programmer simply needs to click on the boxes in the first bubble of the play melody ( ) at temp (120) (bpm) instruction to create the melody. There are a limited number of boxes, so understanding how to create a continuous melody using multiple of these instructions is helpful. In “Twinkle, Twinkle Little Star,” there is a rest at the end of each line. When we translate this to MakeCode, this means leaving one box at the end of each play melody ( ) at temp (120) (bpm) instruction blank. This requires some understanding of how timing in music works - which we explore in the unit - and can also be accomplished by knowing how the melody sounds and using one’s ear to determine how to make the music play best.
MakeCode also has the advantage of being able to view your block code in JavaScript. This is a great stepping stone for students to move from block coding into text coding. Programmers can choose from the Blocks or Text menus at the top of the screen to switch between block and text code. We spend one lesson looking at this code in JavaScript and analyzing the different parts of the code that are easy to read. We also pay attention to syntax and symbols used in JavaScript.
Part 3: Sonic Pi

In the Sonic Pi platform, students learn to write text code using the Ruby programming language. They apply the same concepts of calling functions and adding loops, but write out their code using text. In this part of the unit, we spend time learning some characteristics that are unique to Ruby and exploring Sonic Pi vocabulary. Sonic Pi, like the Music Extension category and the instructions in MakeCode, allow you to write very specific types of music. Both notes and numbers that correlate to notes can be used in this program. Students learn to do both!
This program has a variety of uses. Programmers can even create live songs. However, in this unit, especially considering it is written for our newer coders and elementary students, we explore the basics of the program and get students comfortable learning to write text code.
How Do These Concepts Help Students Today?
This unit is packed with a variety of skills, both programming and in other areas, that students use simultaneously. One study found that the brain uses seven regions of the frontal, parietal and temporal cortices when programming. While there is some crossover, music also accesses other areas of the brain. Thus, students have the opportunity to exercise most areas of their brain and utilize their creativity skills.
Additionally, as with many of our programs, students learn to use different platforms. This unit is extra significant in that it not only teaches different platforms, but exposes students to a new text language as well. We have many programs that teach simple Python code, or explore JavaScript and C++ when working in MakeCode and Tinkercad. Ruby is a new language that we do not explore as much. By exposing students to even more types of languages, we are helping to build their technological literacy.
We often say that even if our students do not become programmers, they will benefit from these activities. Why? We’ve already discussed the areas of the brain that are exercised when completing this unit. Cross-curricular concepts are intertwined throughout the unit, as well. In completing these takes, students are using 21st century skills - problem-solving, creativity, collaboration, critical thinking, and more - that can be applied to virtually any career or path they choose for their futures. We are setting our students up for success whenever they have the opportunity to explore STEM challenges - especially those involving programming!
Stay connected with news and updates!
Join our mailing list to receive the latest news and updates from our team.
Don't worry, your information will not be shared.
We hate SPAM. We will never sell your information, for any reason.
